
Just ham radio in this post. 100% linux free this time.
It is deep winter, and as always I am obsessed with building small radios in my warm, indoor workshop. This year there is a bit of a twist, as I am once again becoming enamored of “hollow-state” radios, you know, the ones that glow in the dark. I am spending a lot of time thinking about building a QRP transmitter from scratch using tubes. This is being driven by the fact that at our local radio club‘s annual auction and swap meet, I was lucky enough to score a really nice tube tester, along with a bunch of really nice tubes. Worse, I found a couple of detailed articles online for building a QRP transmitter using one of the tubes I got in the deal! I have to do this! It’s kismet! I already have the tube! Of course, I don’t have anything else of the about $250 worth of assorted stuff that you have to hang around the tube to turn it into a transmitter, but I will work on that issue gradually over the coming weeks.
All that aside, this blog post is about something else entirely. One of my favorite QRP (low power) radios does indeed have a “hollow state” heart: my AC-1 Jr. Glowbug transmitter. This is a kit-built transmitter, that produces about one watt from a 6005 tube. The kit, produced by Dwight Morrison, KG4HS, is alas no longer in production. The part quality and documentation supplied with the kit are excellent, the design is very well thought out, and the resulting transmitter is a delight to use. Definitely one of my favorites.
Dwight’s design gives you the choice of three crystal controlled frequencies to operate on, via a set of crystal sockets on the main board of the transmitter, and a selector switch on the front panel. These sockets are designed to accept modern quartz crystals, which are pretty small. My transmitter came with 7.030 and 7.040 MHz crystals, and I added one more, 7.058, to fill up the positions.
This is a pretty good line up of frequencies for 40 meter QRP CW (Morse code), but I also happen to have a fairly large selection of vintage quartz crystals, packaged in a holder type know as the FT-243 holder.

FT-243 Crystal
These babies are hefty, there’s lots more quartz in one of these than you will find in a modern crystal. Special ceramic sockets were used with these crystals, so that you could easily change the frequency of your radio simply by unplugging one crystal, and plugging in another.
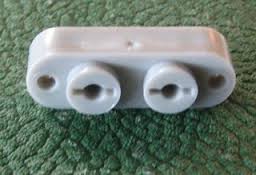
FT-243 socket
Naturally, I wanted to be able to use this system with my AC-1, but that would require adding an external socket, and a connection to one of the three circuit board sockets. There were also some technical concerns, since the larger mass of quartz in the old crystals does not behave identically the small modern crystals in a tuned circuit. There were questions.
I contacted Dwight KG4HS by email asking about the feasibility of running the AC-1 with the FT-243 crystals. He replied very quickly with everything I needed to know, and the game was afoot.
I decided to run a length of RG-174 coax (very small diameter shielded cable) from one of the board crystal sockets to an externally mounted ceramic socket that I got on eBay. (This sort of stuff is all readily available on eBay. Not necessarily cheap, but readily available.) To fit the ends of the coax into the socket, I soldered short lengths of a discarded lead from a resistor to both the shield and the center conductor of the coax. The resistor lead material fits into the crystal sockets on the board perfectly. I added a dab of hot glue between the leads, to insure that they could not short if the coax was jogged. You can see this in the photo here:
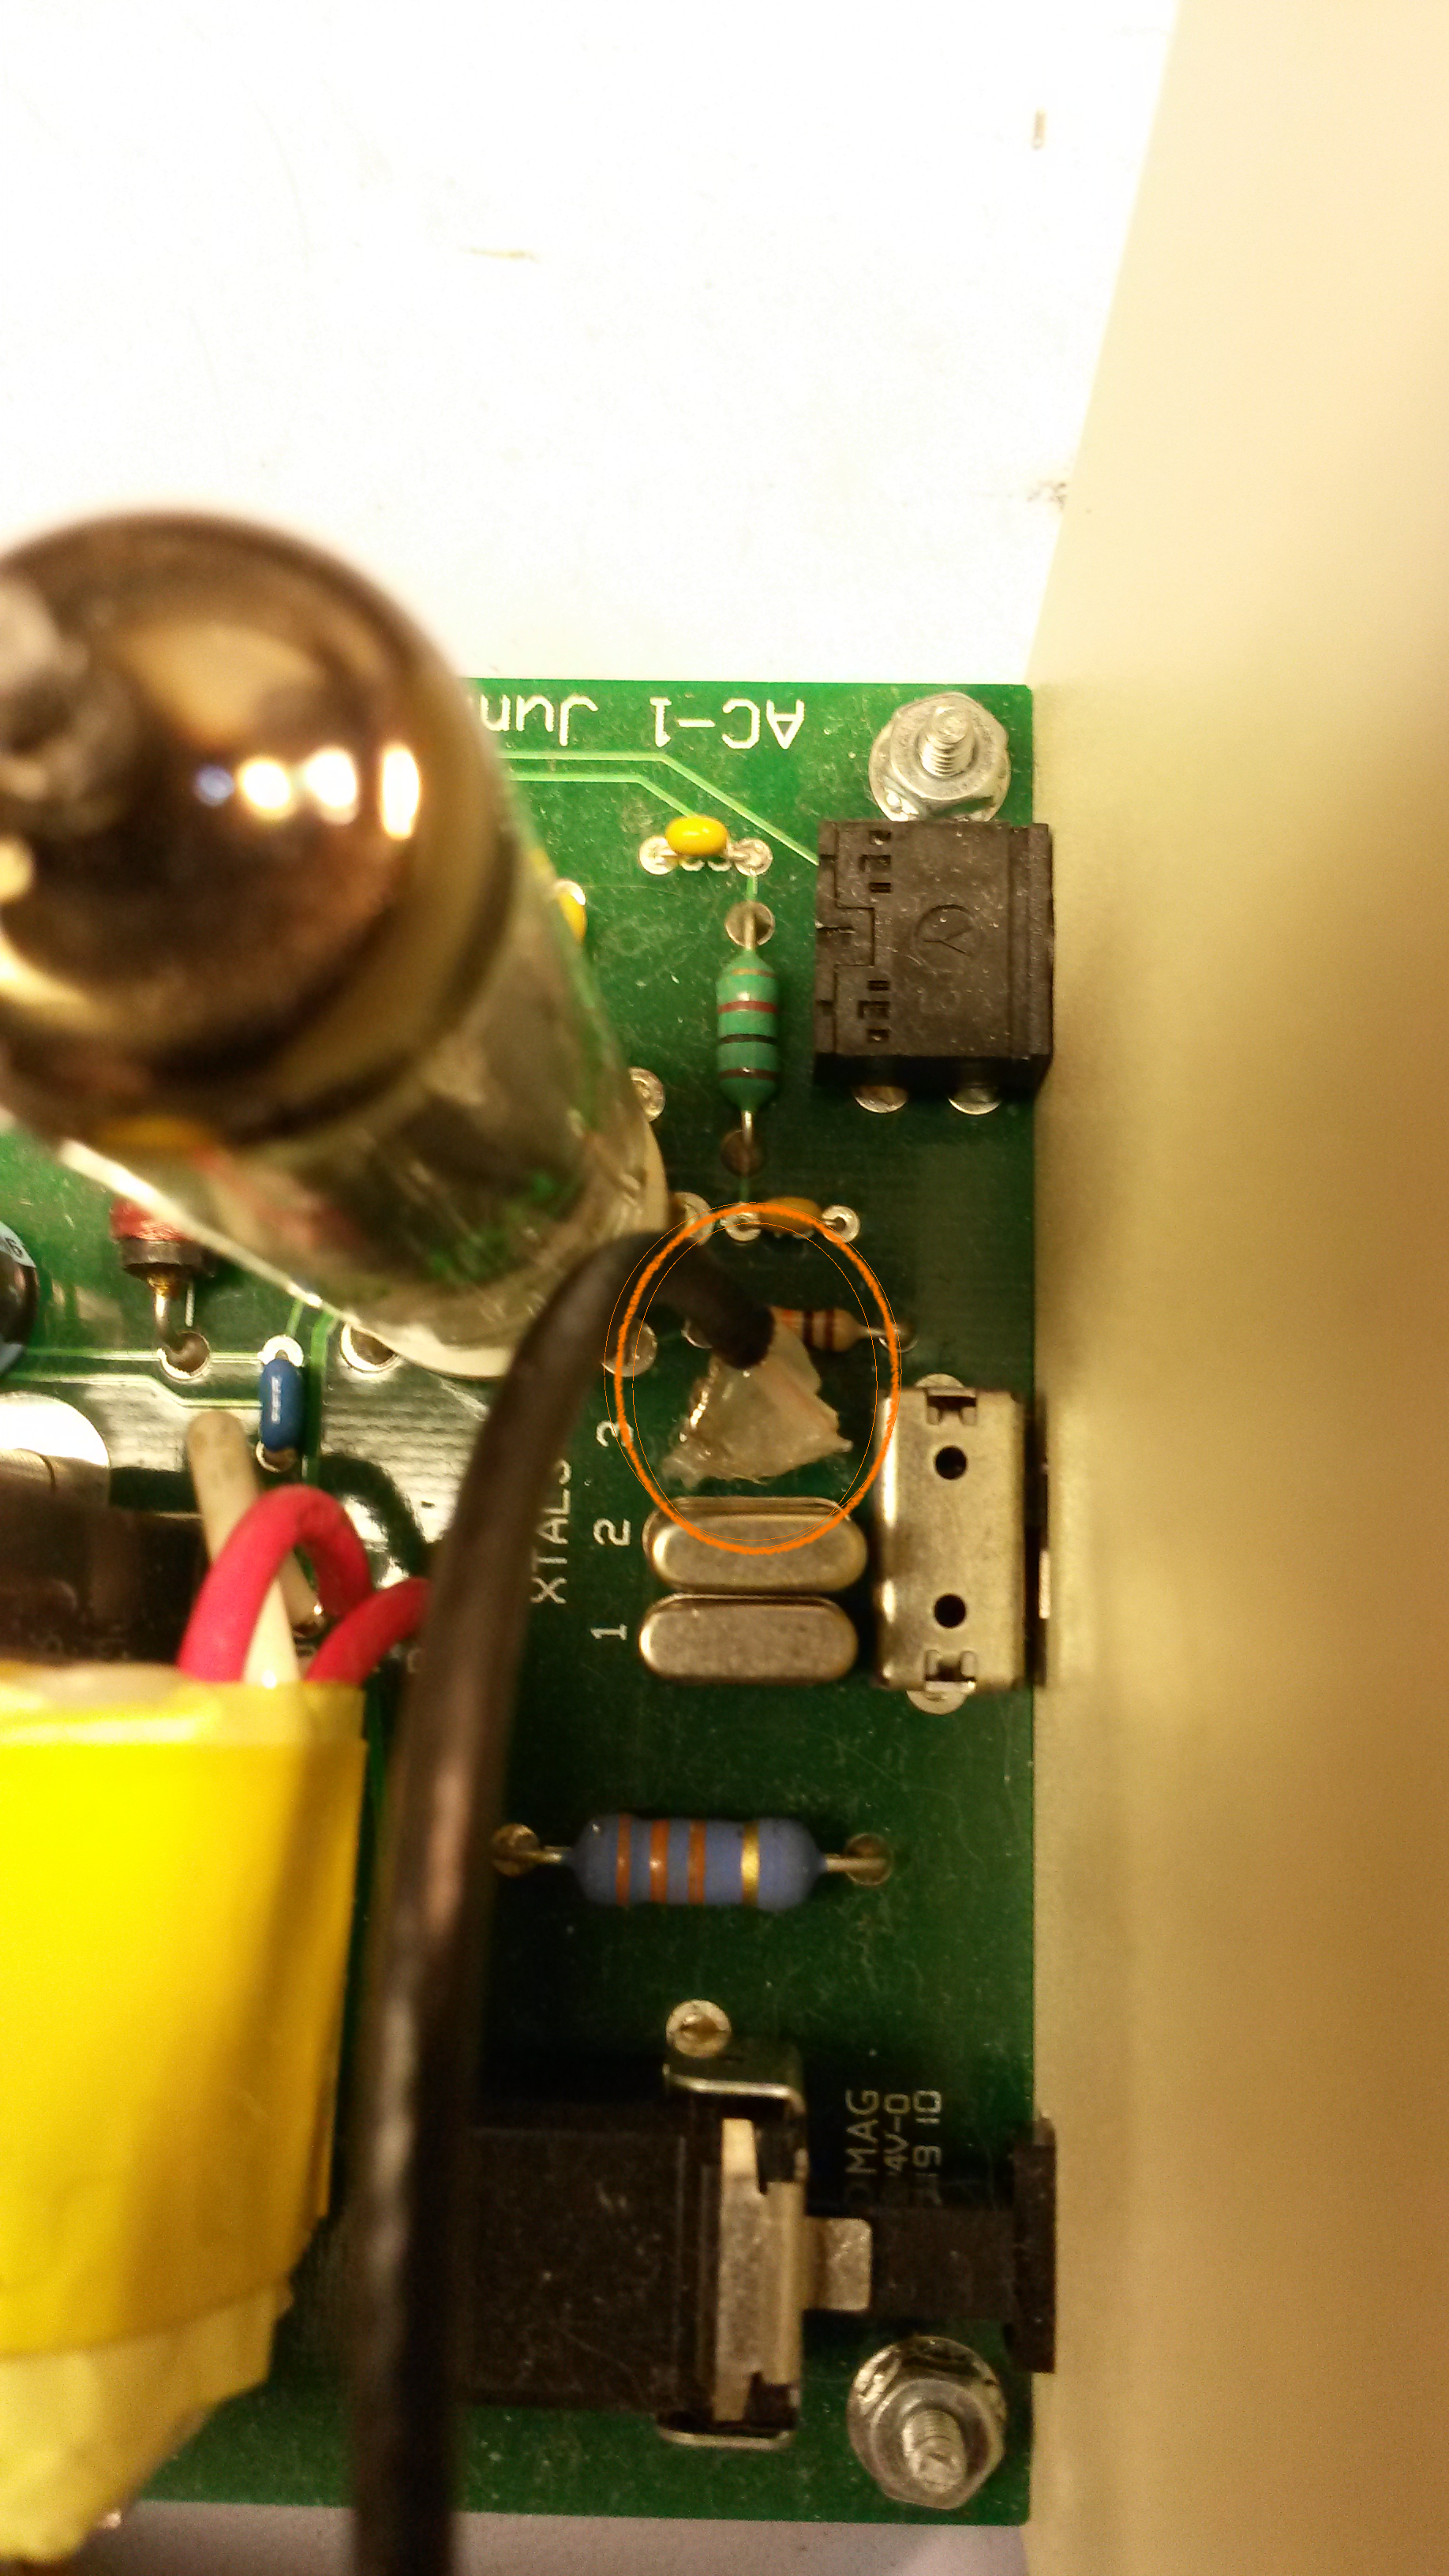
Detail of coax to board socket attachment.
Dwight had pointed out in his email that one side of each crystal socket was at the circuit ground, so I arranged my coax so that the shield side was connected to the grounded socket.
The worst decision came next. The enclosure the the AC-1 comes with is really beautiful – heavy aluminum, powder coat paint, nicely silk screened lettering. The thought of drilling holes in all of that was appalling. Happily, while musing on the best place to desecrate my little transmitter, it hit me — I could use one of the existing ventilation slots to mount the external socket.
I added a little heat-shrink tubing around the solder tabs of the ceramic socket to absolutely avoid any chance of shorting on the metal case. The socket tabs and mounting screws fit perfectly through one slot, and there was plenty of room to solder the coax and tighten the hardware. Here’s the inside view:
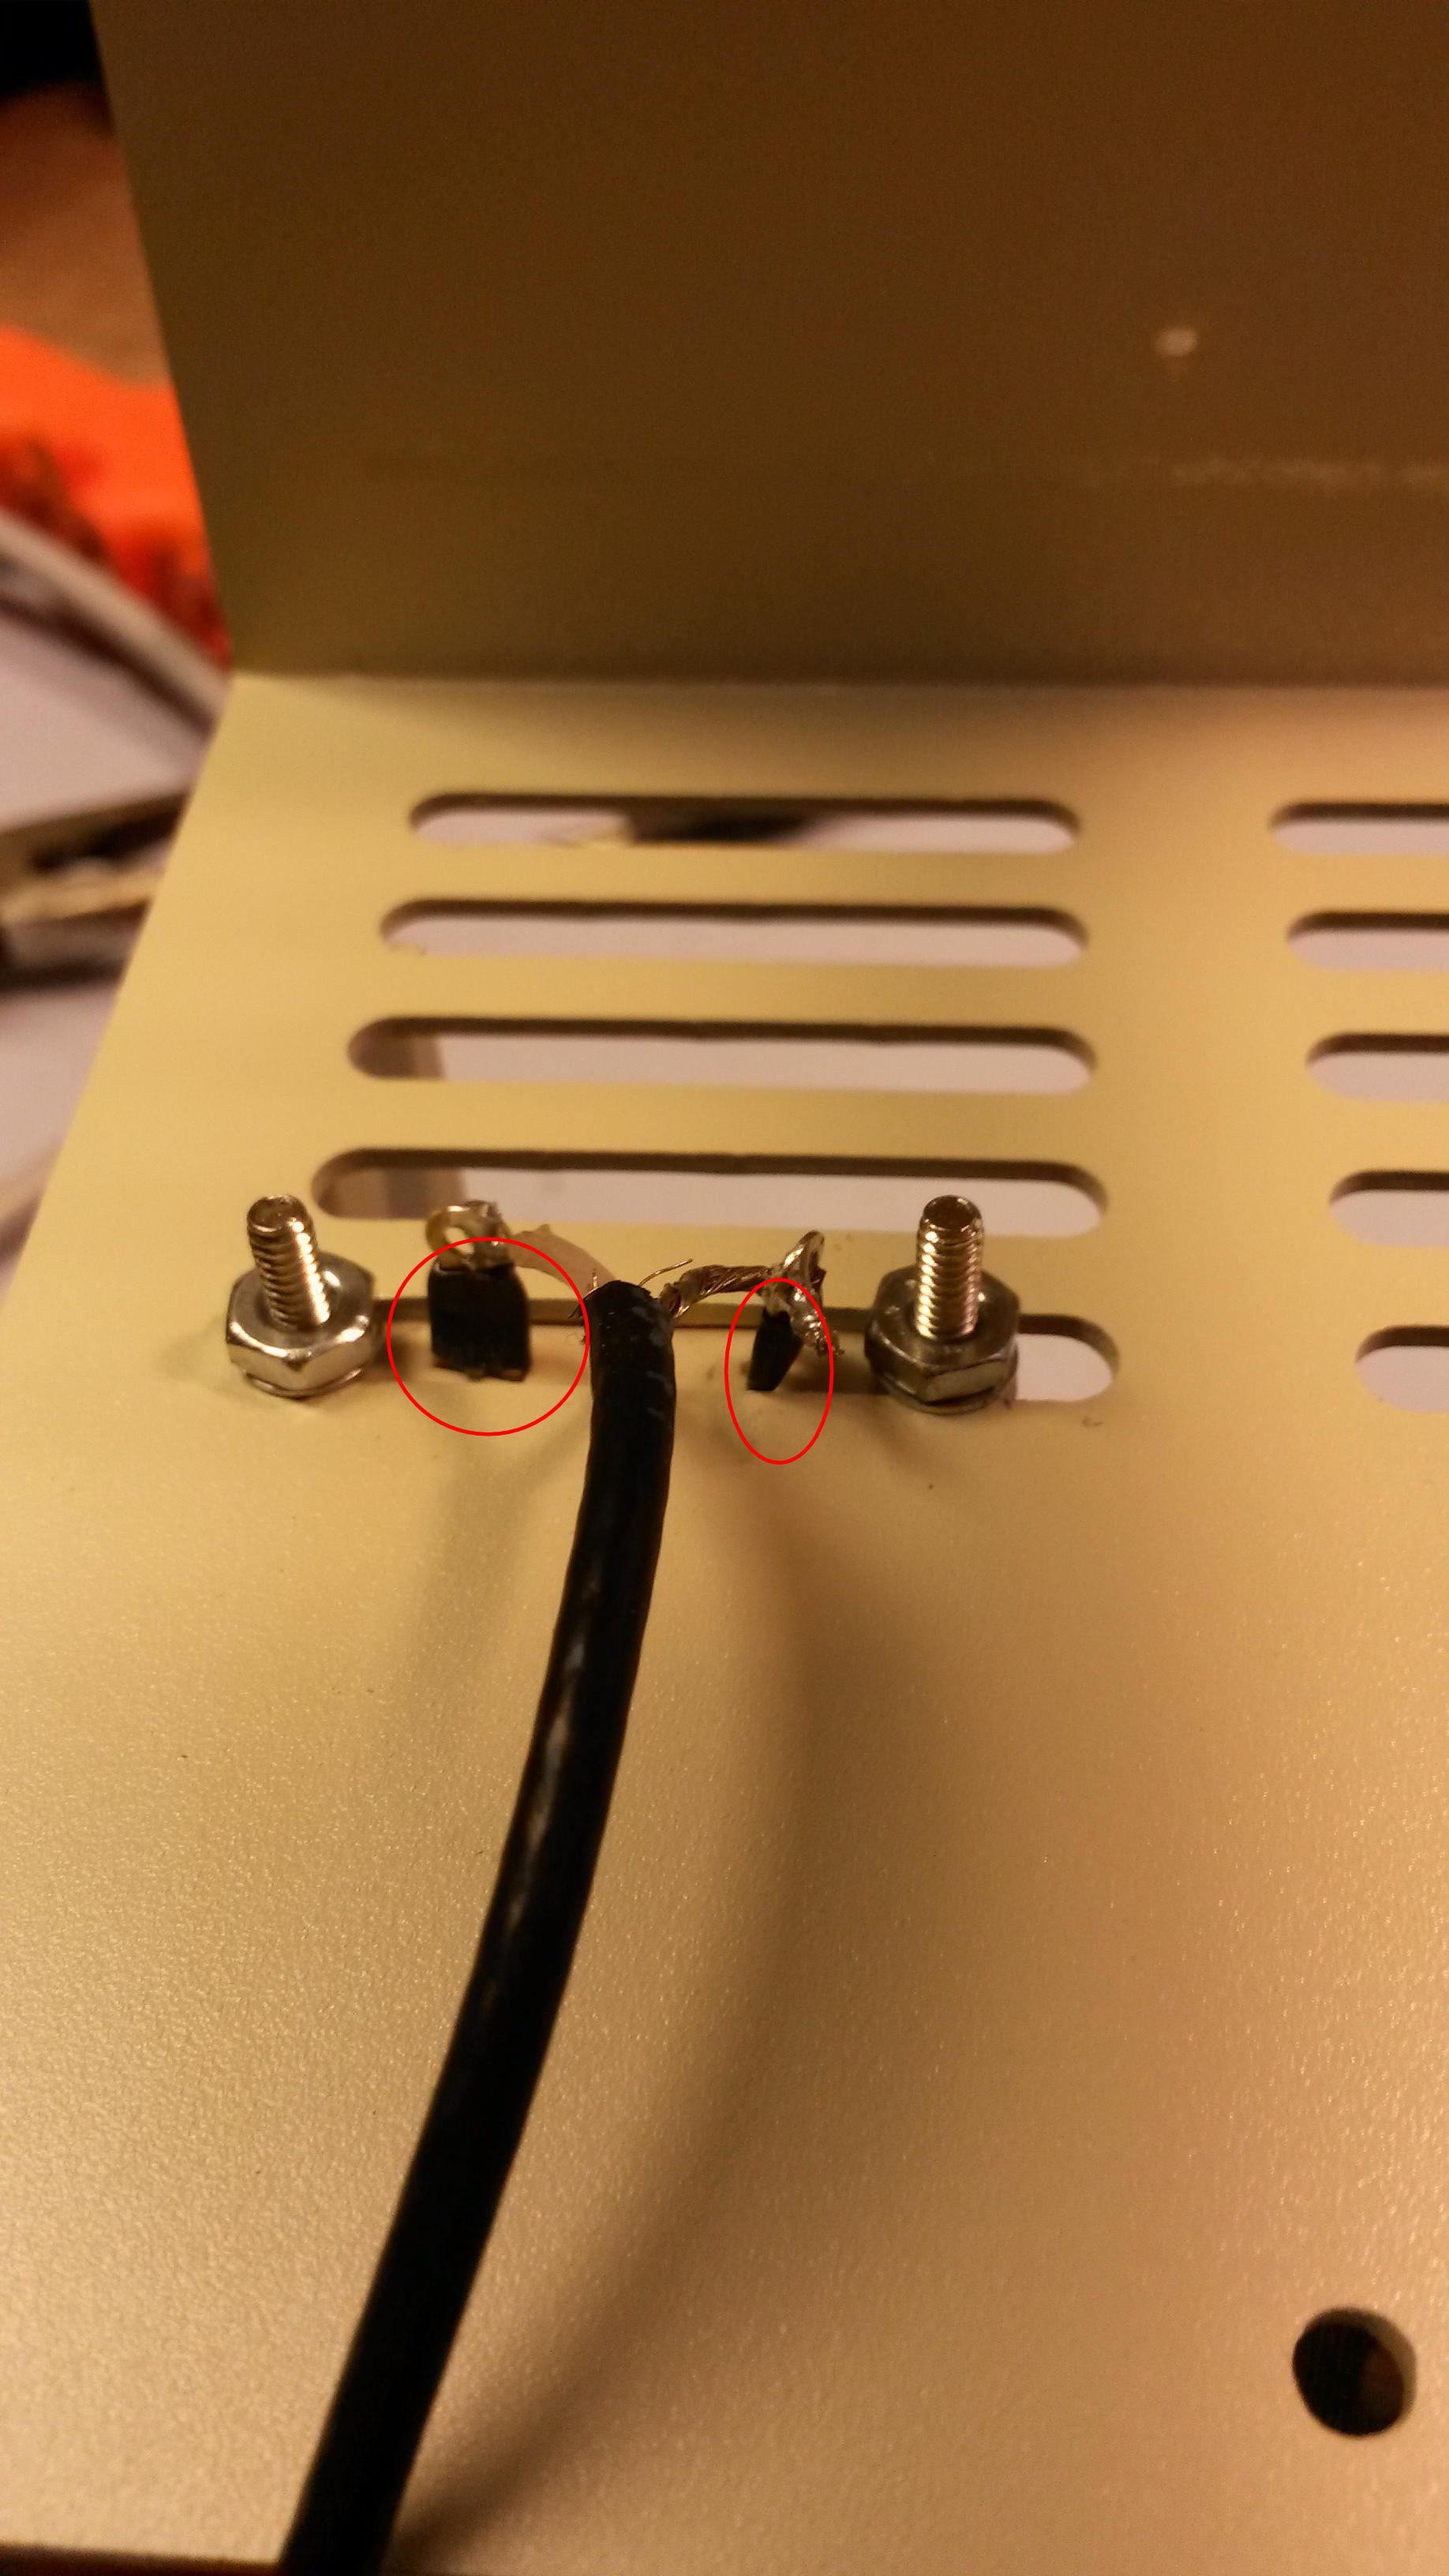
Details of socket mounted in ventilation slot.
I tested with a few FT-243 crystals, and found that no circuit modifications were needed, the crystals worked fine with the circuit as-is, and sounded good on the air. Here is a very rough video I shot of one of these tests, so that you can hear what the keying sounds like using an FT-243. My apologies for the production values on this one, it is shot on my phone:
So this winter project turned out to be a success, and while I am getting together bits to build my own scratch built transmitter, I can operate on those cold winter nights by the faint glow of a 6005, with considerably more frequency agility than before.
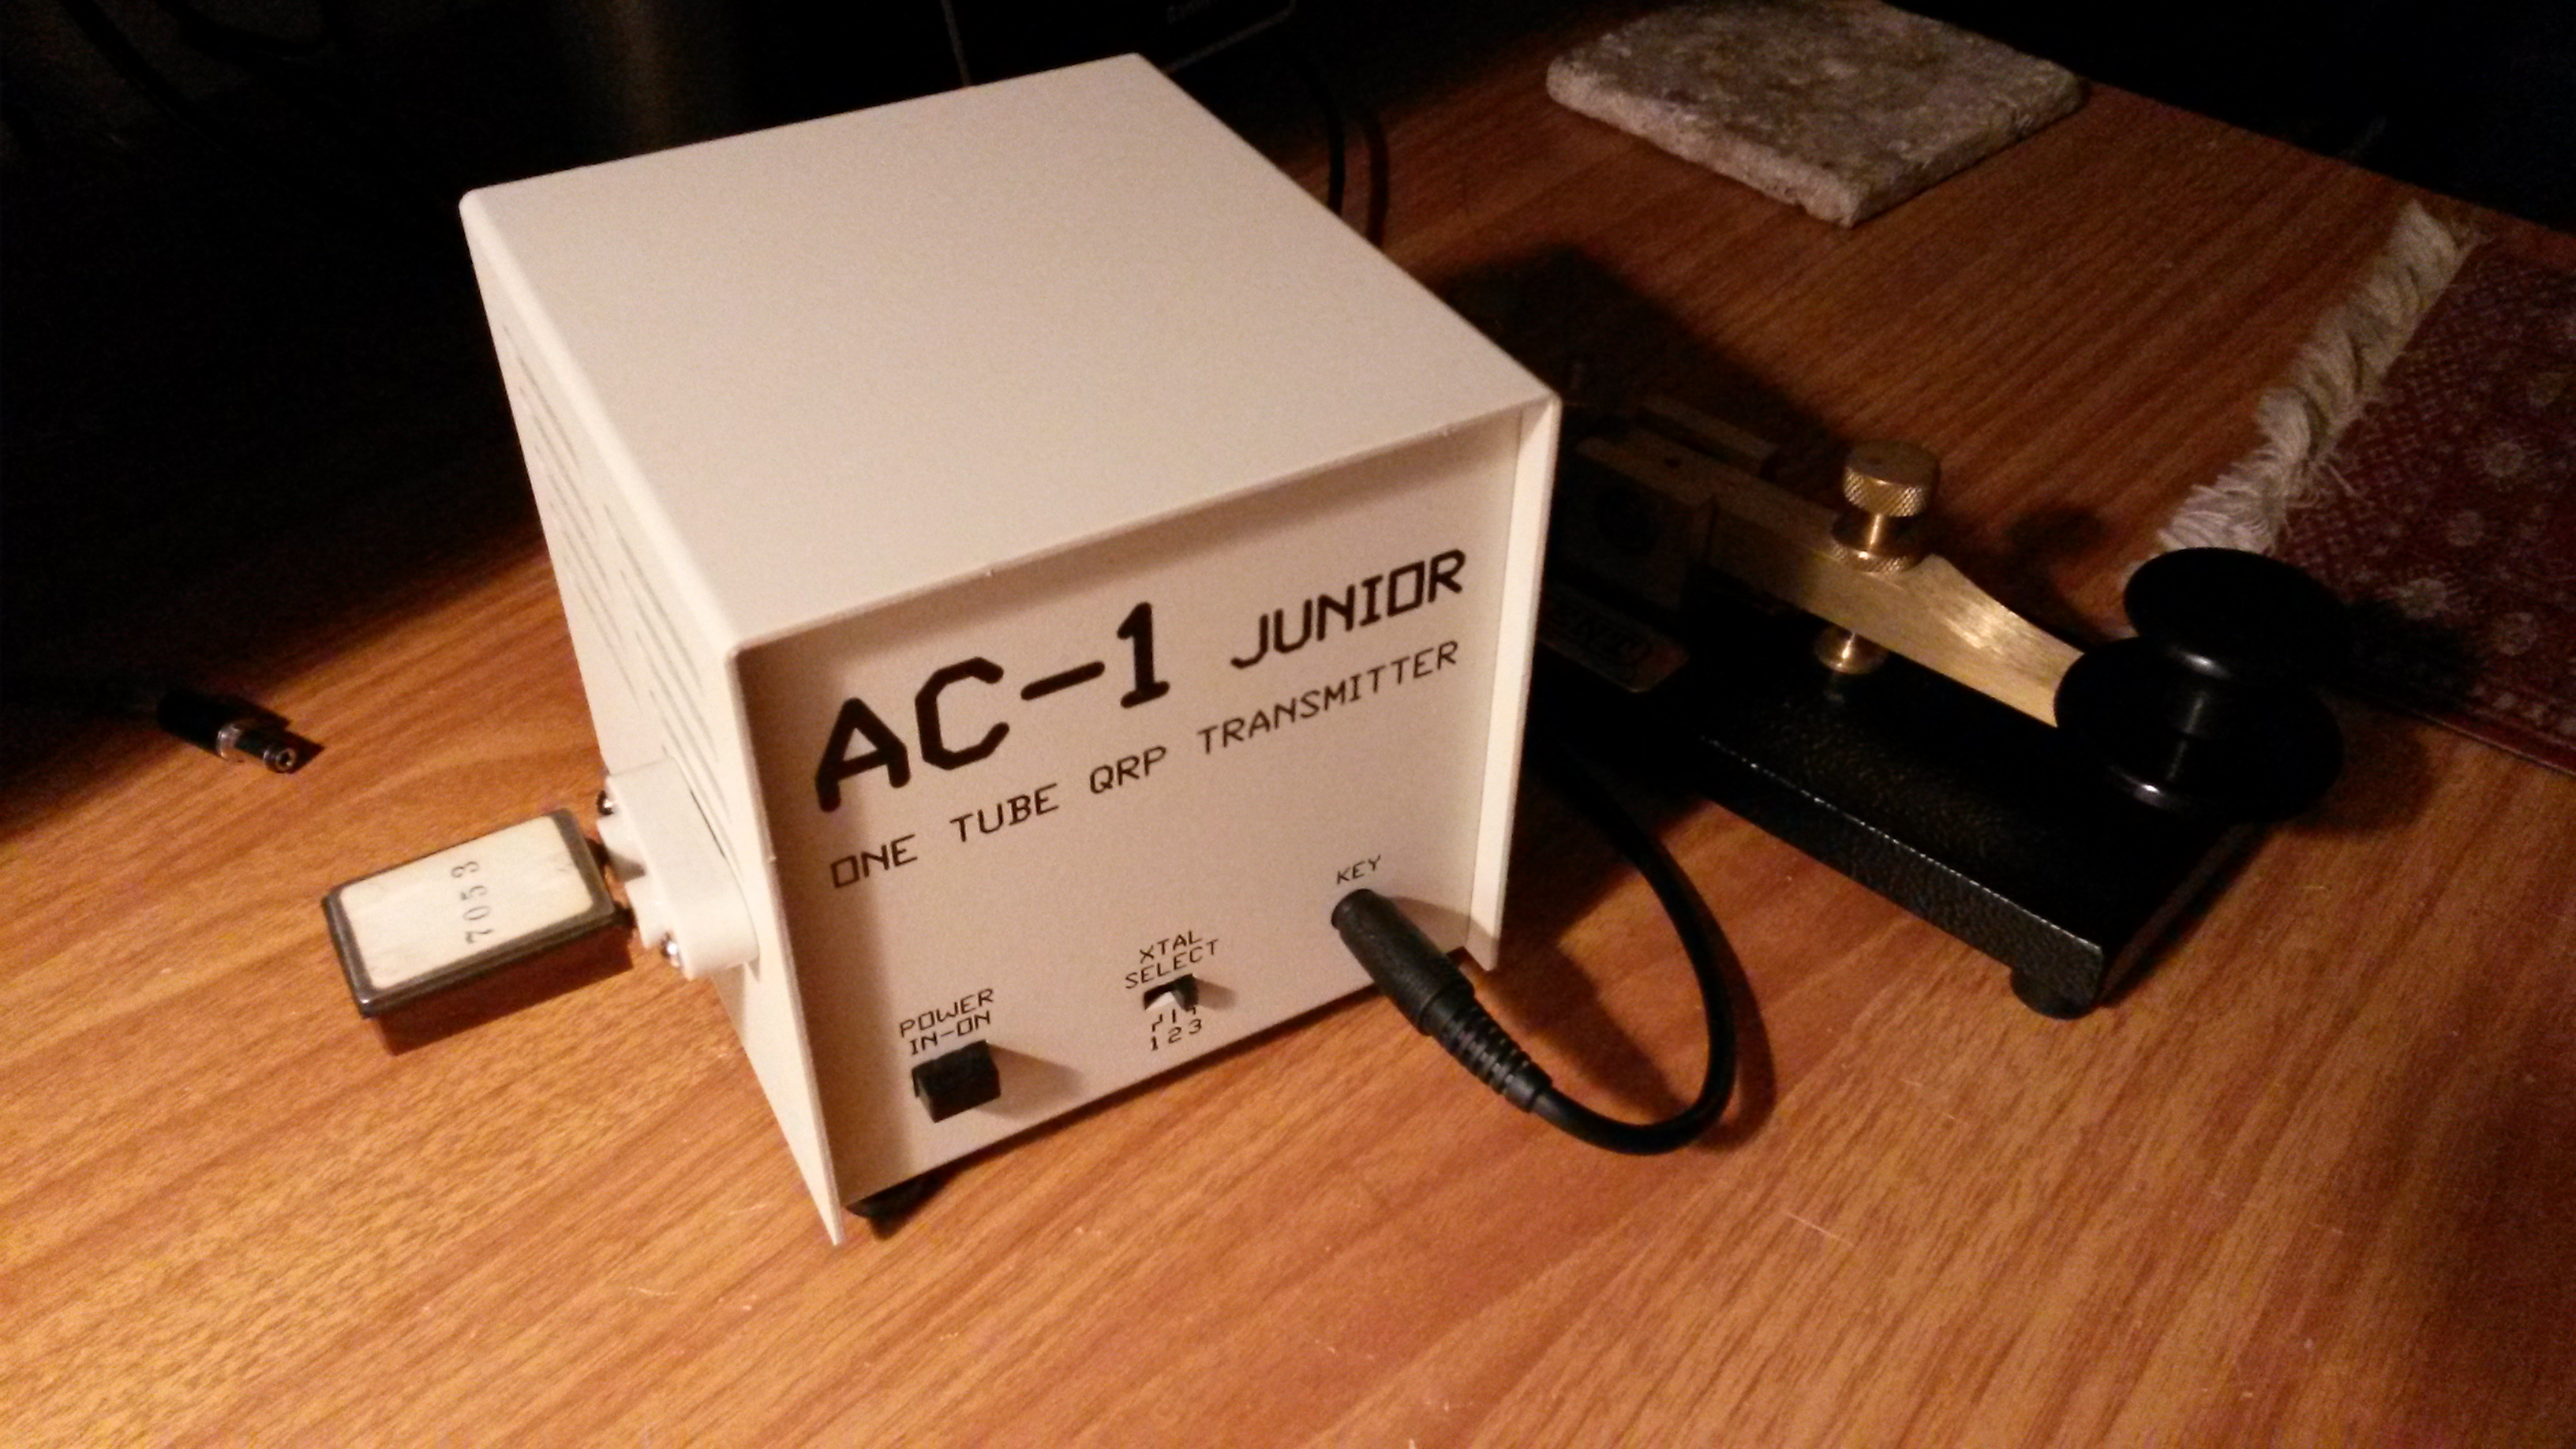
QRV with FT-243 on 7.053
Best of all, this mod is completely reversible, remove four screws and it is gone. My favorite kind of mod.
73,
de N2HTT
